
seki108
-
Posts
2993 -
Joined
-
Last visited
-
Days Won
22


Recent Profile Visitors


Single Status Update
-
Well, I never did a writeup of FMW Stage 73, so I'll mention the high points, since Rejuvenation is lagging a lot ATM.
According to the in-game timer, this stage took me almost 9 hours to do.......this does include some waiting time to decide what to do, but it doesn't include soft-resets or do-overs. With how much points/money and PP I earned, it should be well worth the extra effort to kill everything.
Spoiler
I've been hearing these two theme constantly fighting over which one gets to play
Spoiler(on player phase)
Spoiler(on enemy phase)
Starting off with the Bakartet (Team 9-ball) and Hisoutensoku surviving against shadowed 'nightmare' versions of Mima and Byakuren, it quickly turns into a true boss rush stage with almost every major boss from the past games. Full look at the stage after everything spawned in:
Spoiler
Every 'nightmare' boss had between 17,500(?) and 30,000 HP, with the 'nightmare' mooks having about 15,000 HP. Thankfully, the bats and spirits at the bottom didn't have this too........ The only objective was to defeat 'nightmare' Mima and Byakuren (which would have been challenging enough with everything else attacking), but that would just be a repeat of Stage 40. I do like how almost every 'nightmare' boss had a different character face sprite than their player versions, usually taken from their original boss fight.
To highlight some of the most annoying nightmare enemies:
Nue- She cast's 'Confuse' every other turn, which halves my already questionable hit-rate. After causing my defeat the first attempt, I splurged on resource to take her out first turn.
Spoiler
Utsuho- Back with her Post-movement MAP attack and good accuracy. I was able to drop her morale enough so that she couldn't MAP, but there was always the risk I couldn't take her immediately once she got in range (would have had to eat a MAP)
Spoiler
Ran- Surprisingly, it wasn't her post-movement MAP that gave me trouble; it was her damn 50% double-image rate (essentially 50% chance to dodge by default).
Spoiler
Kaguya- Had a skill that let her not take damage from up to 4 attacks in a turn. This, combined with her decent defense and shield, meant she pretty much just attacked unabaited twice every turn for quite a bit.
Spoiler
Yukari- Her danmaku field made it so she could only be attacked at point blank, just like the Stage 40 fight. Since she can also gap to any tile on the stage and has a decent barrier, I mostly just had to endure her until I had a bomb to destroy the field..........then Marisa and Byakuren stole the kill before I bombed it. Whatever works.
Spoiler
Murasa- Her danmaku field turned everything in it into water terrain......which almost no-one is good in. Had to bomb the field as soon as she got close.
Spoiler
Kanako- Her field decreased every one of my units stuck in it to a C air terrain rank. Considering she was in the air, that was essentially a 40% damage debuff, while making every one of my units in it more vulnerable. Bombed it at the same time as Murasa actually. Finishing off both her 30,000 HP and Marasa's 25,000 was a bit tricky in one turn but manageable.
Spoiler
Erin- One of the two units that didn't charge, she kept her distance and sniped. Her main annoyance was that she cast a danmaku at any chosen area in a range around her---every unit in it could do absolutely nothing. Took two bombs to finish her.
Spoiler
Mima- Once she started moving, I was glad so many enemies were cleared out. With 2 attacks her phase, high attacking stats, the strongest(?) barrier in the game, and good defenses/accuracy, she earned her place as one of the main bosses of the stage.
Spoiler
While not overly difficulty, I also have to note Sukia for being the first 3L enemy unit thanks to her field........yeah, I just bombed it. I'm glad we got so many bombs this stage.
Spoiler
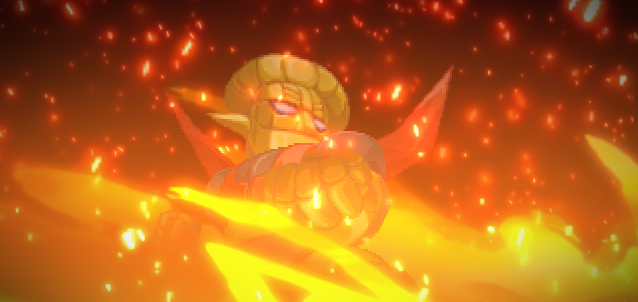
Also, Tenshi, with over 3000 armor value. That's very high, even past most final bosses in SRW.
Spoiler
-

Thank you for unintentionally reminding me to do this, Bibs ( @Dorcas)
-

-